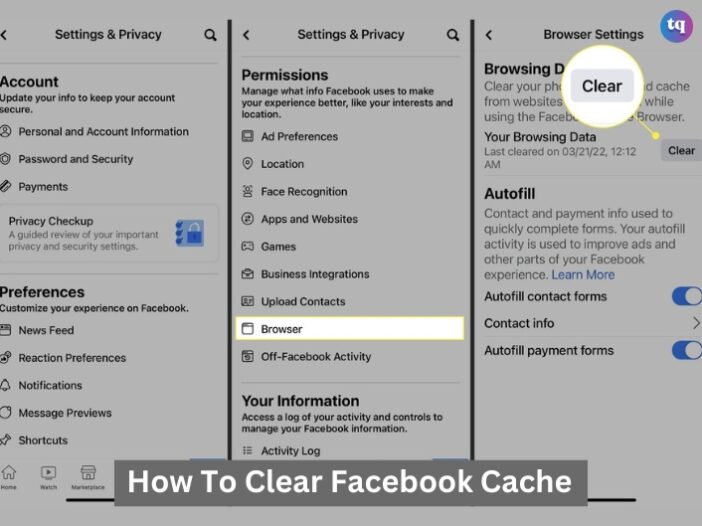
Have you noticed that Facebook has been acting a bit sluggish lately? It might be time to clear your cache.
The idea behind a cache is to reduce the app’s loading times and data usage; this is done by having the cache store temporary files in a dedicated location.
Clearing the cache can help improve app performance and resolve common issues. Let’s walk through the steps to clear the cache on Facebook and understand why it’s important.
Table of Contents
When Should You Clear Your Facebook Cache?
Clearing the app cache isn’t always necessary. You mainly clear the temporary files when you’re low on storage or if you encounter problems with the Facebook app. However, the Facebook app’s cache can get bloated with old cached data, which affects its performance.
So when you find the Facebook app takes too long to load, and if photos and videos don’t work, the app cache can use a cleaning.
If your Facebook feed doesn’t load properly or you see outdated content, clearing the cached data forces the app to fetch the latest ones. Besides these, you don’t need to clear your Facebook cache frequently.
READ ALSO: How to Make Your Facebook Private in 2024
How to Clear Your Facebook Cache on Android
You can clear your Facebook cache from the Settings menu on Android. Here’s how:
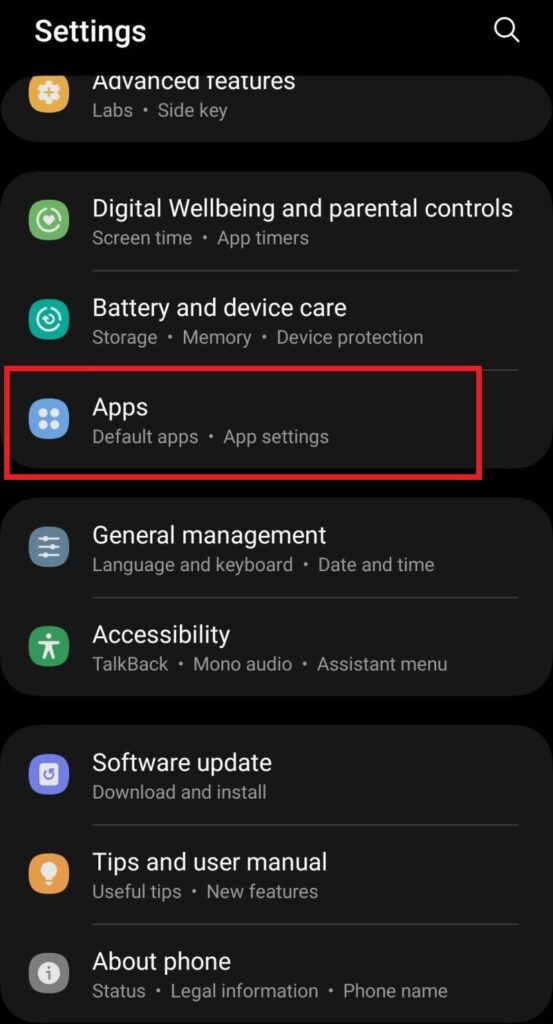
1. Open Settings on your Android phone.
2. Select Apps or Apps and notifications.
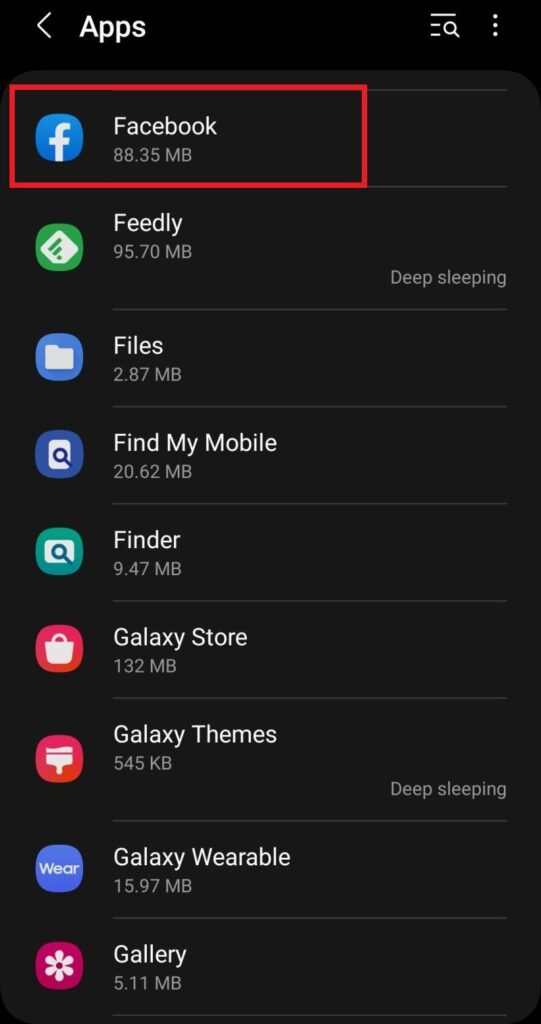
3. Scroll through the list until you find Facebook, or use the search bar to find the app.
4. Tap Facebook.
5. Select Storage or Storage & cache.
6. Tap Clear cache in the lower-right corner.
Image Source: Android Police
How to Clear Your Facebook Cache on iPhone
You can’t clear your Facebook cache from your iPhone’s settings. Instead, you’ll uninstall and reinstall the Facebook app from the Apple App Store.
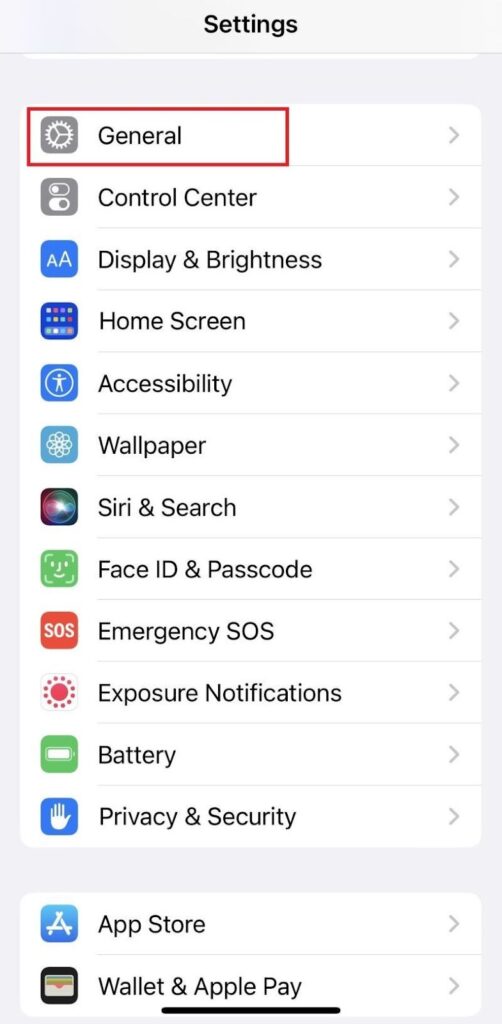
1. Go to Settings on the home screen.
2. Select General.
3. Tap iPhone Storage.
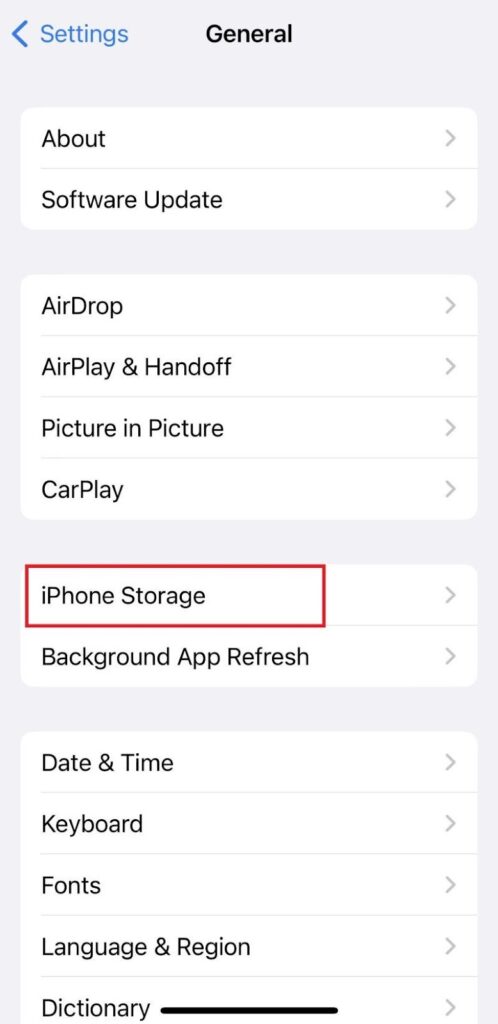
4. Select Facebook from the list.
5. Select Delete App and tap Delete to confirm. This uninstalls the Facebook app and clears the cache.
6. Reinstall the Facebook mobile app from the App Store.
7. Open Facebook after the installation is complete, and enter your login details.
How to Clear Your Facebook Cache From the Browser
If you access Facebook from a browser, whether on a desktop PC or a Mac, you can’t clear Facebook’s cache like on the mobile app. Instead, you’ll clear your browser’s cache, which also clears Facebook’s cache.
In this guide, we will use Google Chrome. This is how:
1. Open Chrome on your computer.
2. Click the three-dot menu in the upper-right corner of the browser.
3. Select Clear browsing data.
4. Click the drop-down menu beside Time range and select All time.
5. Mark the checkbox beside Cached images and files, then uncheck other options.
6. Click Clear Data to confirm your action.
What Happens When You Clear Cache on Facebook?
You’ll gain more storage and purge old and possibly corrupted files after clearing the Facebook app’s cache on your phone.
This is a temporary way to free up storage space on your Android phone. On the iOS app, reinstall it and sign in again to reap the benefits of clearing the cache.
Clearing your cache doesn’t affect your personal data like your Facebook account details, pictures, and friends list. That data is stored on Facebook’s servers, so you don’t lose your information after clearing the cache.
Conclusion
Clearing the cache on Facebook is a simple yet effective way to improve app performance and resolve common issues. By following the steps outlined above, you can ensure that your Facebook experience remains smooth and enjoyable.
You should check for regular maintenance and proactive management of cached data because it can prevent problems and keep your app running efficiently.
FAQs
No, clearing the cache will not delete your personal data or account information.
It’s a good idea to clear your cache every few months or whenever you notice performance issues.
You can delete Facebook searches both in a web browser and in the app. Go to Account > Settings & Privacy > Activity Log > Search History on the website and click Clear Searches in the upper-right corner. In the app, select the Search icon (magnifying glass) > Edit > Clear Searches.
First, go to the website or open the app and select the Notifications (bell) icon to clear a single notification. Then, select the three-dot menu. Select Remove this notification to delete that one. You’ll have to clear all of your notifications individually, but you can choose to Turn off these notifications to stop additional ones from coming in. Go to Settings > Notifications to disable specific types of alerts (for example, “People You May Know.”